Deploying DICOM based Server using Othranc for local Image Management
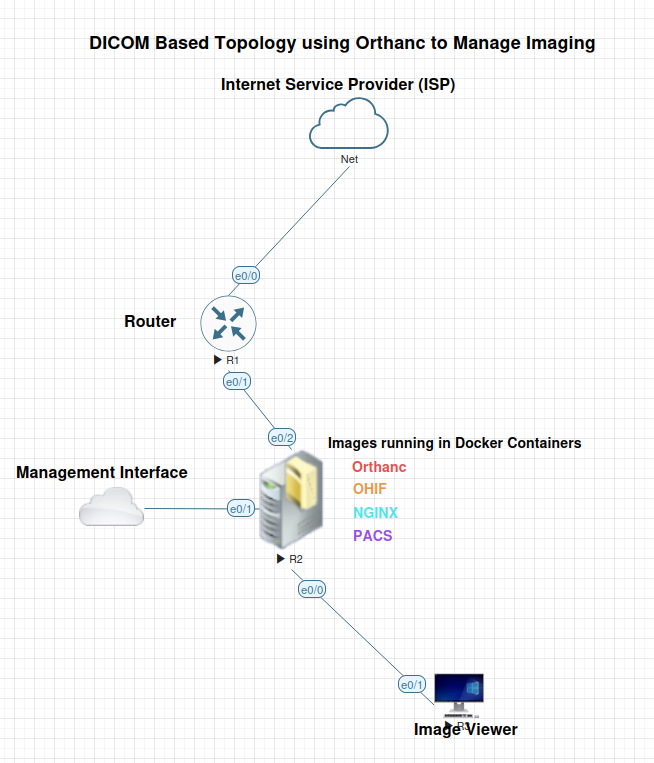
In this open-source medical imaging topology, focuses on the DICOM lightweight server, Orthanc, designed for medical imaging and research. This allows users to store, receive, and manage medical images across platforms like Windows, Linux, and OS X. We will examine its components, installation and configuration providing how these services are facilitated. This lab topology consists of the following:
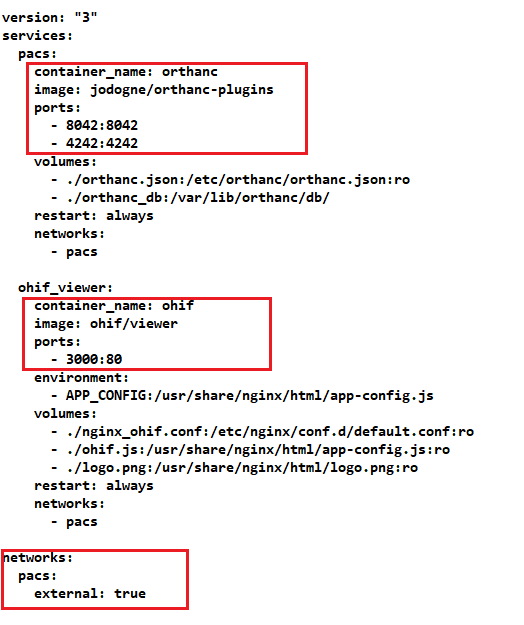
The server Operating System is Ubuntu 25.10. The above components run inside a Docker container that coordinates its collective services. Each element is constructed by an image as shown in the docker-compose.yml configuration file:
This specific instruction can be broken down as follows:
./orthanc.json: This is the path to the configuration file on your local machine (the Docker host). The ./ indicates that the file is in the current working directory from where the Docker command is executed.
/etc/orthanc/orthanc.json: This is the destination path inside the Orthanc Docker container where the containerized Orthanc server expects to find its primary configuration file.
:ro: This option specifies that the mounted volume should be read-only. This prevents the container from modifying the host’s configuration file, which is a good practice for ensuring configuration integrity.
By using this volume mount, you are telling Docker to use your custom local orthanc.json file to configure the Orthanc server inside the container, instead of using the default configuration. This approach is commonly used to customize the Orthanc server’s behavior, such as defining user authentication, specifying storage locations, or setting up modalities.
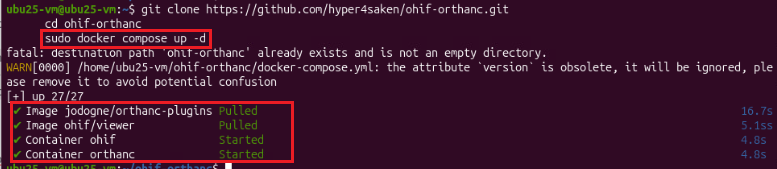
Once the docker container is started, it pulls each image from repository and then runs it. This process is started by the following command $sudo docker compose up -d.
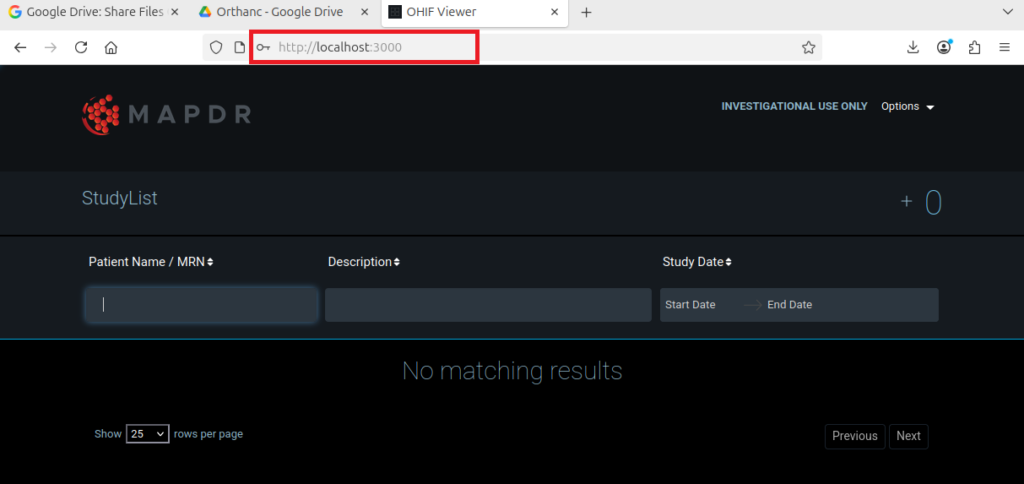
Each container communicate its service through specific port number(s). Thus, Orthanc uses 8042 while the OHIF/Viewer uses 3000.
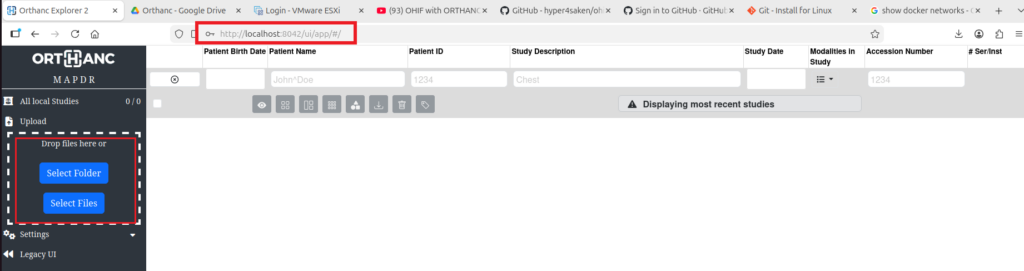
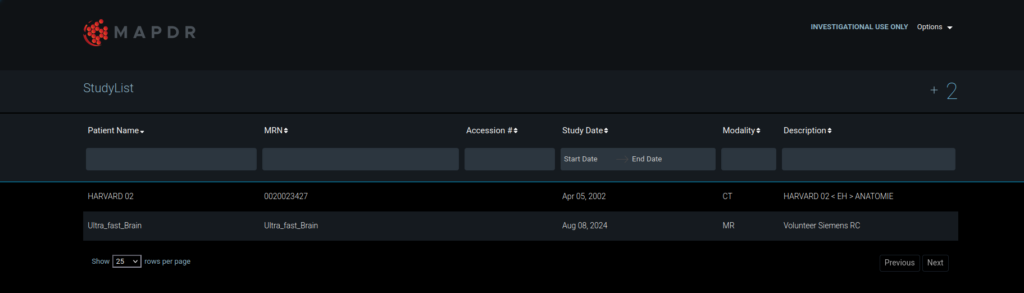
Accordingly, each ui can be viewed in the web browser, respectively.
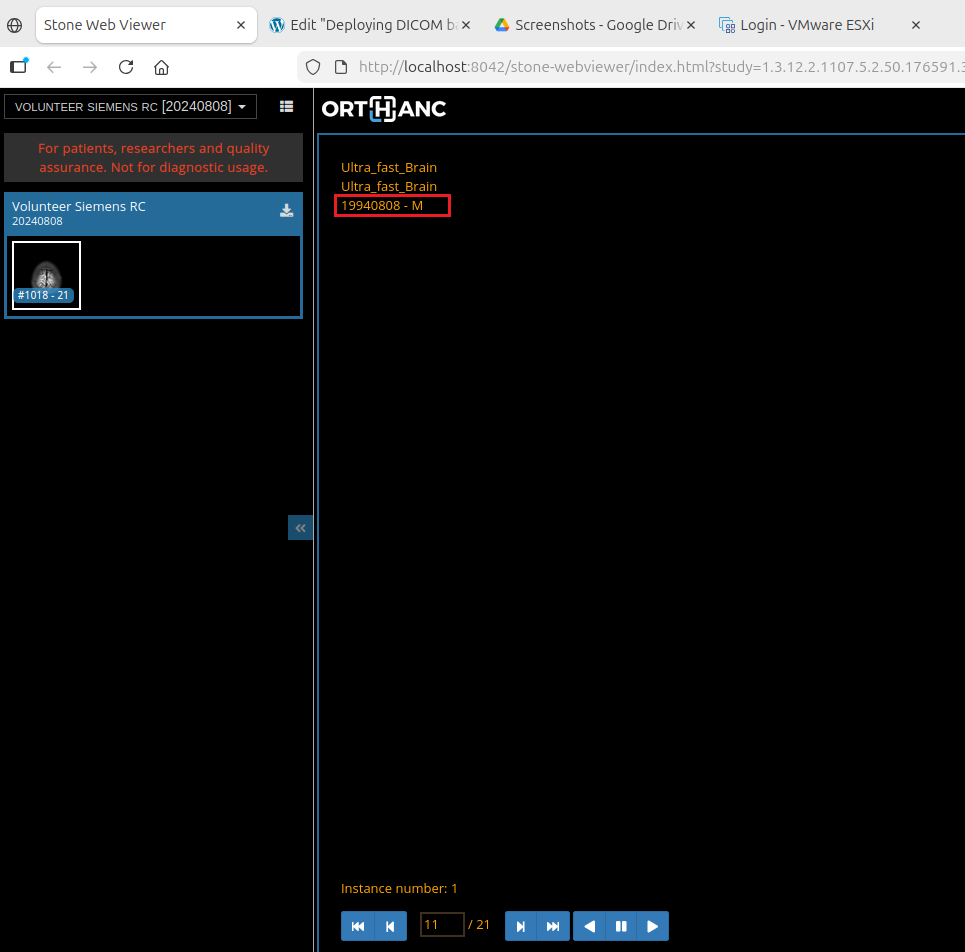
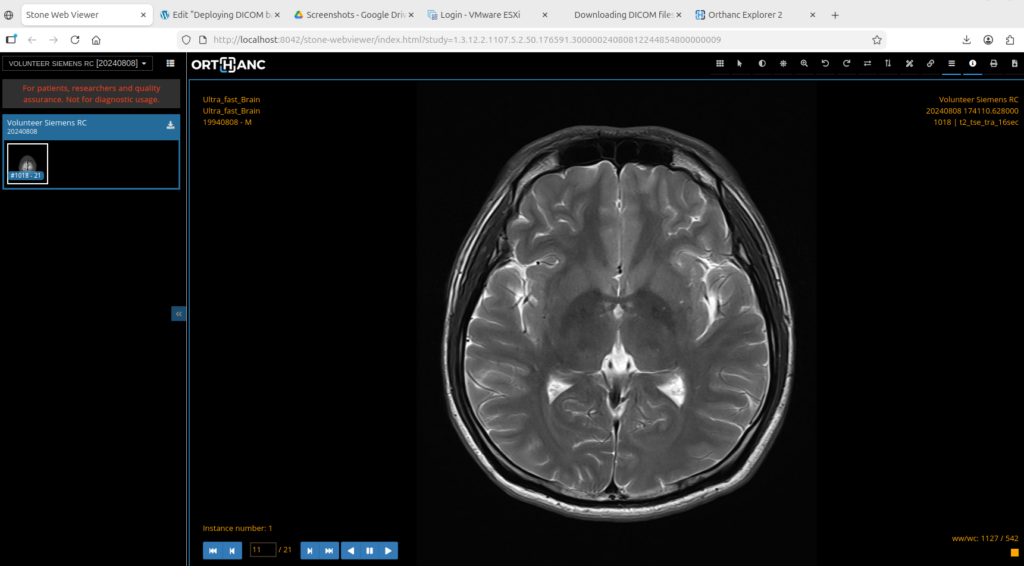
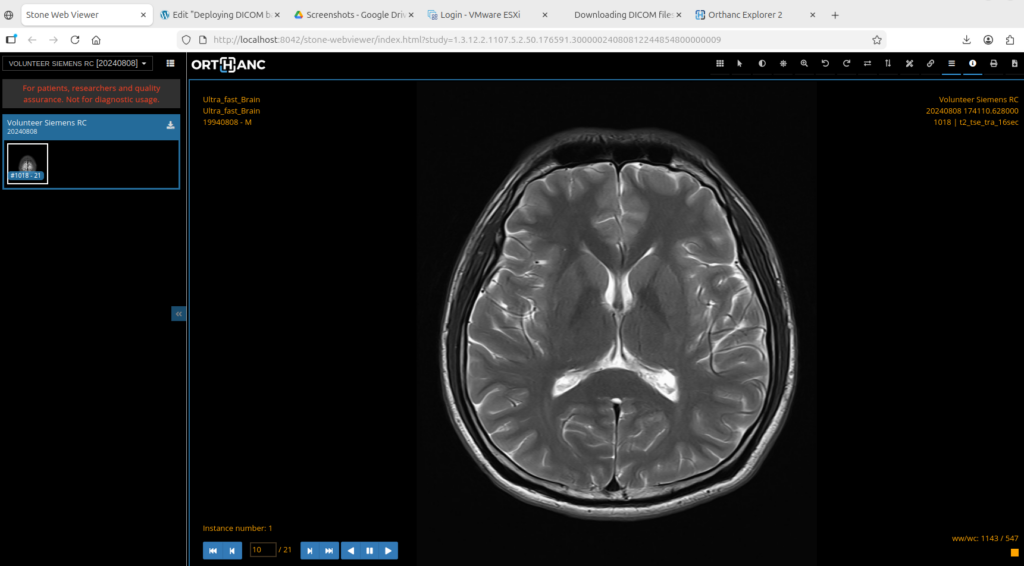
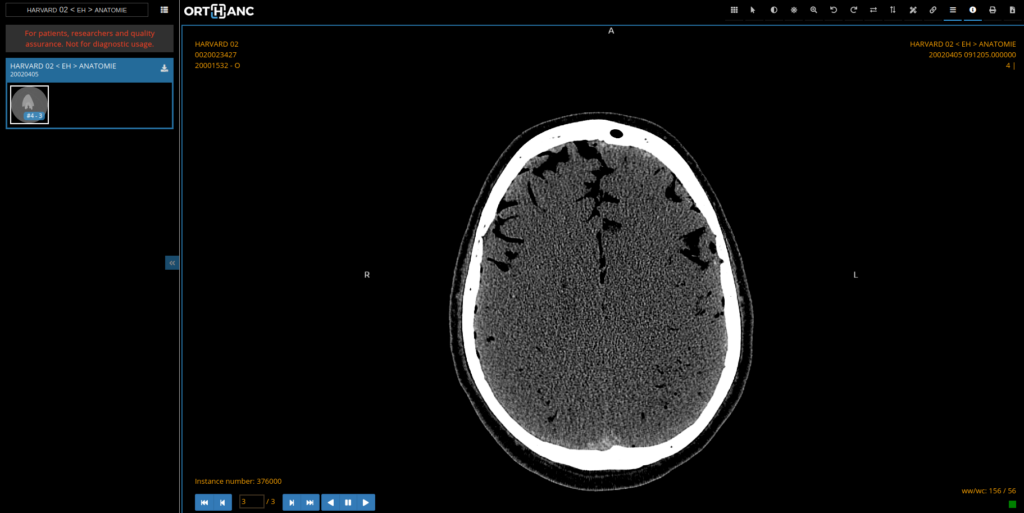
To transfer files, you can simply drag-and-drop from your locate drive.
In addition to using the view icon on the left, the search can be used. In this example, the search used the date-of-birth.
In a similar fashion, the .dcm files can be added (uploaded) to the PACS StudyList by selecting the + sign to the far right and pointing to the downloaded file on the local drive.